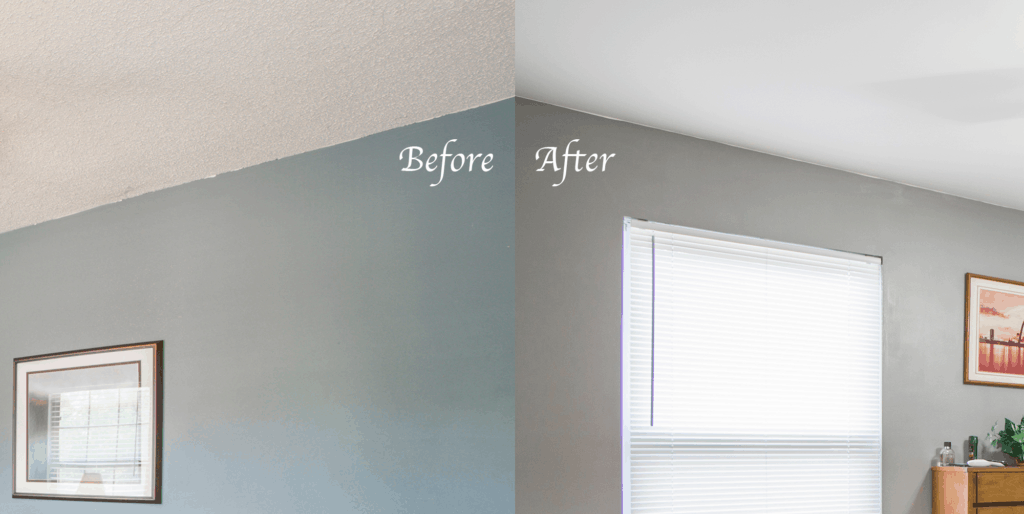
Replacing Your Popcorn Ceiling – Wrong Way, Right Way
Replacing a Popcorn Ceiling – The Wrong Way
Josh says the best way to remove a popcorn ceiling, is to not remove a popcorn ceiling, but we’ll get to that later. If you do need to remove your popcorn ceiling, you only need a few supplies – a mask, safety goggles, a 6-inch tape knife, and a spray bottle of water. Simply dampen the ceiling with the spray bottle (this will make it easier to remove), and start scraping with the knife. This method is messy, time-consuming, and can potentially cause damage to the ceiling behind the popcorn. Most of all though, if your popcorn ceiling was installed before 1977, it’s possible it has asbestos. Scraping that popcorn off would expose you to that which can be dangerous if inhaled.
Replacing a Popcorn Ceiling – The Right Way
To get the best results of a popcorn-free ceiling, we recommend putting new drywall right over the existing ceiling. This will create a clean slate for your ceiling without exposing asbestos or any further damage on the ceiling. You simply screw up the drywall on the ceiling, tape it to the walls to create a seamless transition. This may force you to repaint the top of your walls, so be prepared for that, but in the end, it’s going to be a brand new ceiling, without the work and risk of scraping off the popcorn texture.

